


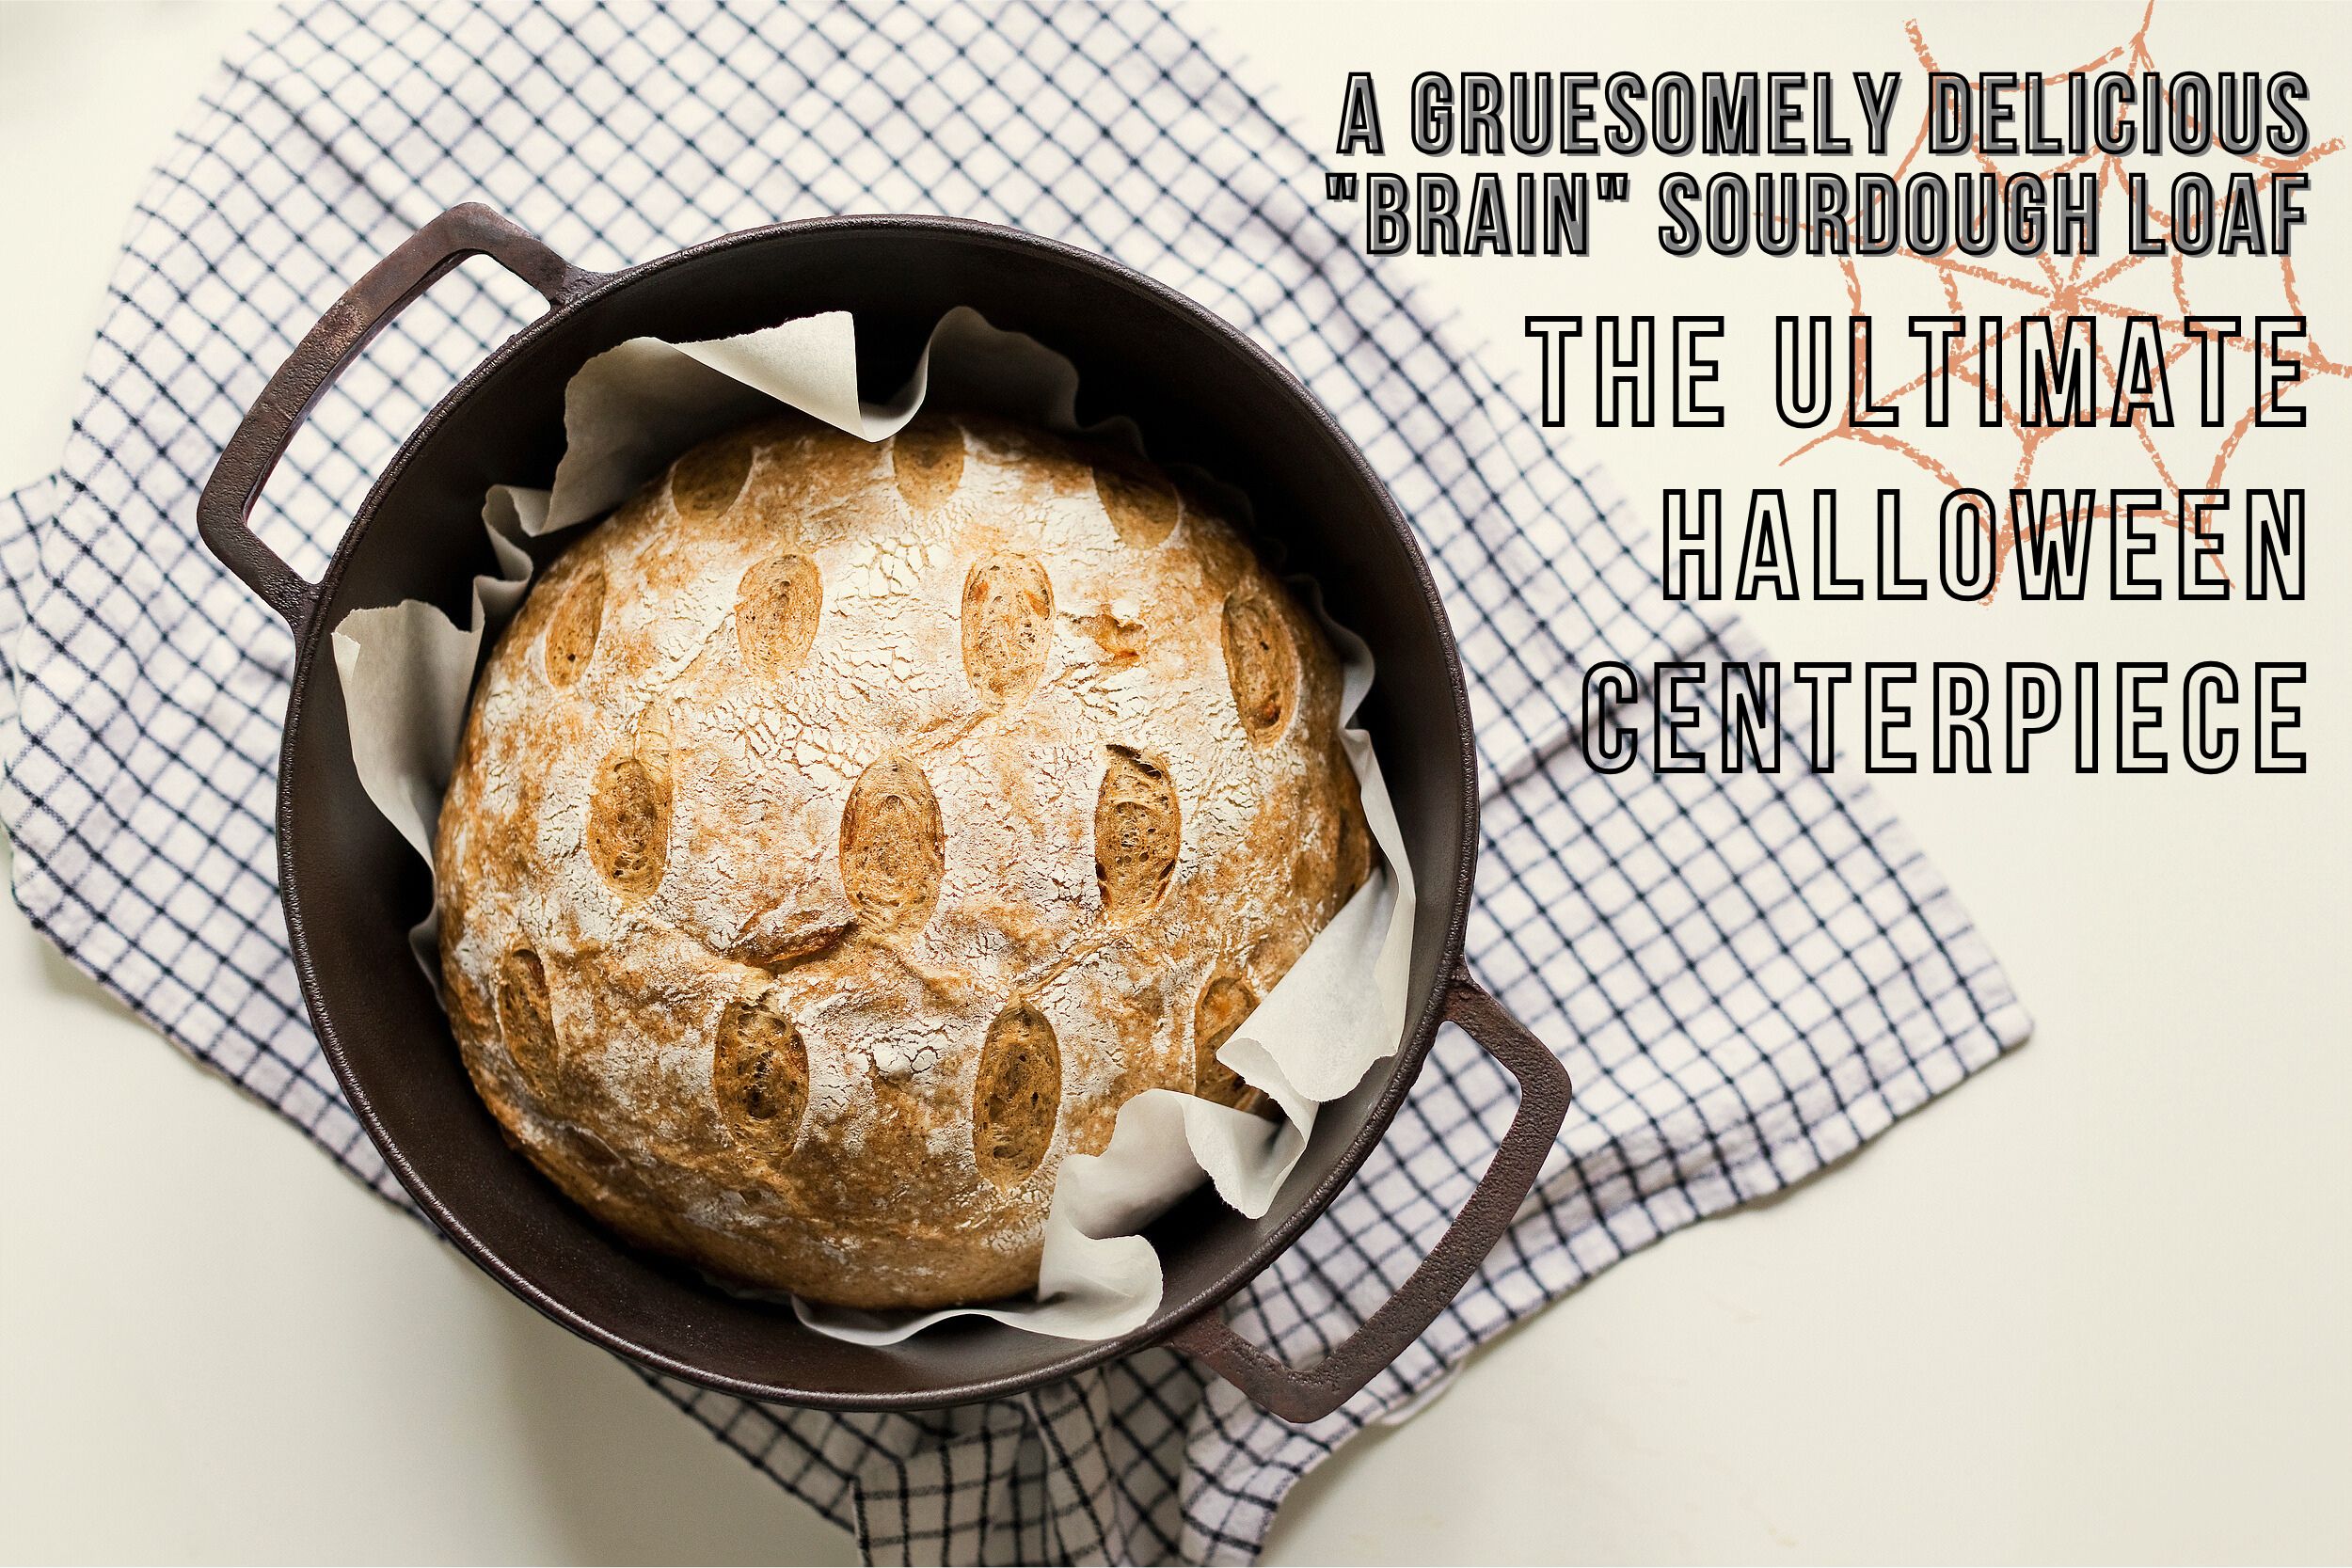
As the October nights draw in and jack-o’-lanterns cast their eerie glow, our baking inspiration takes a delightfully dark turn. This year, let’s create something truly unforgettable—a “Brain” Inspired Rustic Loaf that’s terrifyingly impressive on the outside and wonderfully soft on the inside.
This loaf won’t just be the talk of your Halloween party; it’s a fantastic family activity. And the secret weapon? ARC Versatile Cast Iron Dutch Oven Set—it’s not just for simmering and sautéing, but your “magic key” to professional-level baking.
The “Brain” Rustic Loaf Recipe
The charm of this bread lies in its stark contrast: a rugged, classic artisan crust wrapped around a creatively playful idea.
Ingredients
- 500g Bread Flour
- 350ml Lukewarm Water
- 10g Fine Sea Salt
- 5g Instant Yeast
- A light coating of Olive Oil
Your “Magical Tool” Set
- 5QT Round Cast Iron Dutch Oven (Your steam-baking powerhouse)
- Danish Dough Whisk (Mix effortlessly, no sticky hands)
- Dough Scoring Knife (The soul tool for creating “brain wrinkles”)
- Silicone Bread Sling (For safely removing your perfect loaf)
- Bread Basket(The final showcase stage)

Instructions
Step 1: Mix & Activate – “The Potion is Born”
- In your Cast Iron Dutch Oven, combine the flour, salt, and yeast. Use the Danish Dough Whisk to mix the dry ingredients right in the pot.
- Gradually add the water, continuing to mix with the whisk until no dry flour remains and a shaggy, sticky dough forms. The pot’s heavy base keeps it steady, and mixing directly in it saves you from cleaning an extra bowl.
Step 2: Ferment & Fo—”Givingng the Dough Life”
- Lightly coat the dough with olive oil and place the lid on the pot.
- Let it rest in a warm, draft-free spot for the first rise (about 1-1.5 hours), or until doubled in size.
- Every 30 minutes, with wet hands, gently lift and fold the dough from the edges over itself. This can be done directly in the pot.
Step 3: Shape & Final Pro—”Sculptingng the Monster”
- Generously flour your work surface and gently turn the dough out.
- Gently shape the dough into a tight, round ball, preserving the air bubbles.
- Put the Silicone Bread Sling into the pot and place the dough back in, smooth-side down. Cover with the lid for the final proof (about 45-60 minutes).
Step 4: The Scori—”Awakeningng the Brain”
- Preheat your oven to 450°F (230°C).
- Remove the lid to reveal your smooth, rounded dough.
- Take your dough scoring knife and score a winding, intricate pattern across the entire surface, mimicking brain convolutions.
- The Key: Work quickly and confidently, with cuts about ½ inch deep. Organic, natural grooves look the most realistic!
Step 5: Steam Ba—”Tempereded in Hellfire”
- Quickly place the lid back on and transfer the pot to the oven.
- Bake with the lid on for 30 minutes. (This creates the perfect steam for a crispy crust).
- Remove the lid and bake uncovered for 15-20 minutes, until the crust is a deep, golden brown.
Step 6: Cool & Present – “The Monster’s Coronation”
When the bake is complete, simply grasp the ends of the sling and lift the entire loaf out, safely and effortlessly, from the scalding-hot pot.
Transfer it to a wire cooling rack. Let it cool completely (at least 2 hours). This is non-negotiable for the perfect texture!
Place your masterpiece in the Bread Basket and bring it to the table. Get ready for a chorus of gasps and laughs!

Conclusion
As the autumn chill fills the air and the warm scent of fresh bread fills your home, remember you’ve created more than a loaf. You’ve crafted a memory—a warm, flour-dusted focal point that brings everyone together.
May your Halloween be filled with delicious treats and just the right amount of spooky-good fun.
Happy Baking!